
Chocolate, Decorating Tips & Tricks
Learn the Art of Making Chocolate Truffles
Nov
You may not be a chocolatier or even a baker, but everyone can learn how to make chocolate truffles that taste and look amazing. By using a chocolate truffle shell, you take the stress out of rolling perfect balls and can make wonderful treats in under 60 minutes. It’s a perfect hosting gift or a way to get together with friends, allowing everyone to take home a decadent sweet delight.
Chocolate truffle shells have existed for more than two decades. I recall using them in the early 2000s while working in hotels and bakeries; producing 5,000 pieces was manageable and allowed us to stick to a strict timeline while delivering exquisite desserts with countless filling choices. The most rewarding aspect of using these pre-made shells is the variety of fillings you can create: caramel, ganache, cream, marshmallow, nut pastes, solid chocolate, fruit jellies, or a combination of ganache and caramel. After coating them in chocolate, the finishing touches for these delightful treats are limitless. You can add nuts, coconut, chocolate crispearls, crushed candy, sprinkles, cocoa powder, or a hint of edible glitter. Whether you choose dark, white, or milk chocolate, your options are virtually endless.
Because these homemade truffles are made with fresh ingredients and typically don’t contain commercial preservatives, they have a shorter shelf life than store-bought chocolates.
As a general guideline, enjoy your homemade truffles within 5–7 days, provided they have been stored appropriately. Serve at room temperature to allow the flavours to be more dominant and come to life. Depending on the ingredients used, some fillings may require refrigeration and may have an even shorter shelf life. Always follow the storage instructions for your filling recipe.
Professional chocolate makers often use specialized equipment to measure the water activity (the amount of water available for microbial growth) in their fillings. By controlling moisture levels, recipe formulation and storage conditions, they can create chocolates with a longer, more predictable shelf life, sometimes ranging from 15–90 days or longer.
Store-bought chocolates may also contain preservatives and other ingredients that help maintain freshness and extend shelf life.
Our advice? Make small batches, keep them stored properly, and enjoy them while they’re fresh!
And remember our little chocolate motto: “A chocolate a day keeps the worries away!”
From easy steps to a video we know you are well on your way to make these treats
How to Use Premade Chocolate Truffle Shells
Step-by-step instructions | Chocolate Truffle Shells
Milk Chocolate Truffle Shells, Dark Chocolate Truffle Shells, White Chocolate Truffle Shells
Premade chocolate truffle shells are an easy way to create professional-looking chocolate truffles without having to mould the chocolate yourself. Simply prepare your filling, pipe it into the shells, allow it to set, and finish with a chocolate coating or decoration.
These shells are ideal for making ganache truffles, flavoured centres, and beautifully finished handmade chocolates.
Step-by-step instructions
Step 1 – Prepare your shells
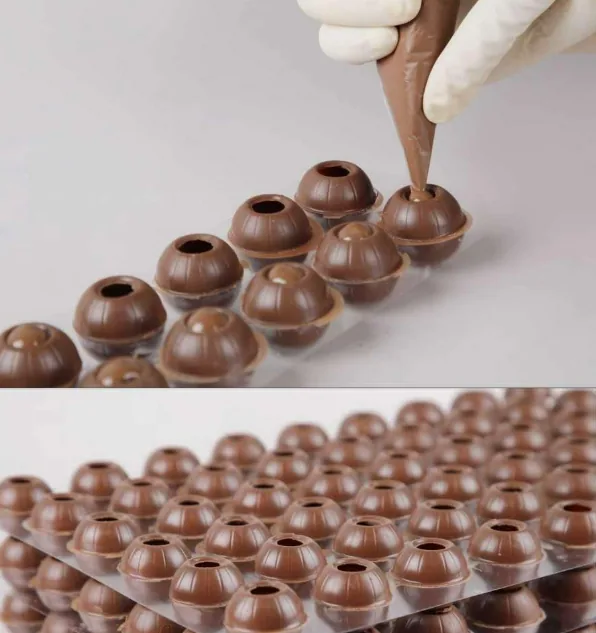
Carefully remove the truffle shells from their packaging. Remove the top plastic cover only ! Keep the shells in the bottom plastic holder. This will keep them sturdy while filling and capping. Place them on a clean, dry tray or work surface. Handle gently to avoid cracking or melting the chocolate.
Keep the shells in a cool, dry environment until ready to fill.
Step 2 – Prepare your filling
Prepare your preferred filling, such as:
- Chocolate ganache. Recipes: Chocolate/Passionfruit, Ganache by Veliche
- Salted caramel . No time to make scratch check out premade CARAMEL !
- Fruit Caramel. Recipe: Passionfruit Caramel
- Fruit-flavoured ganache. Recipe: Tropical Fruit , Passionfruit,
- Coffee or flavoured cream. Cream fillings are quick and easy to use. Try the Master Martini Pistachio !
Allow the filling to cool to room temperature before piping. Do not take this step lightly. If your filling is above 37°C you run the risk of melting your shells. Ideally you want your filling around 32°C It should be fluid enough to pipe but not hot. Do not pipe cold filling from the fridge as it will be stiff and not flow evenly in the shells.
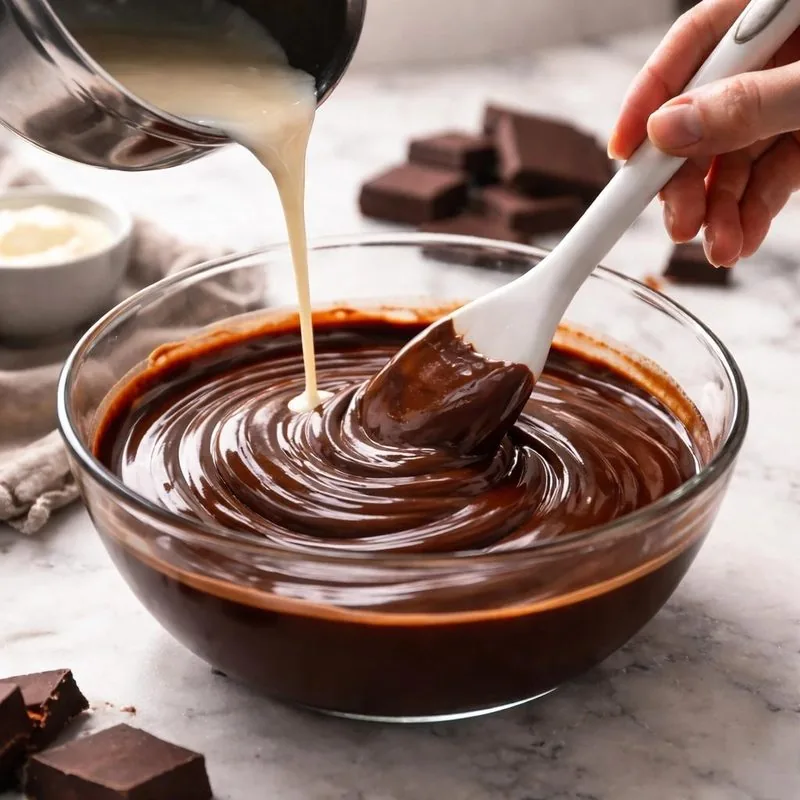
Chef Tip : You can very easily flavour the ganache by adding an infusion (such as vanilla, coffee, tea, or aromatic herbs) to the cream. Make the infusion in pure cream, and scale again after infusion to get the quantity of cream given in the recipe.
Step 3 – Fill the shells
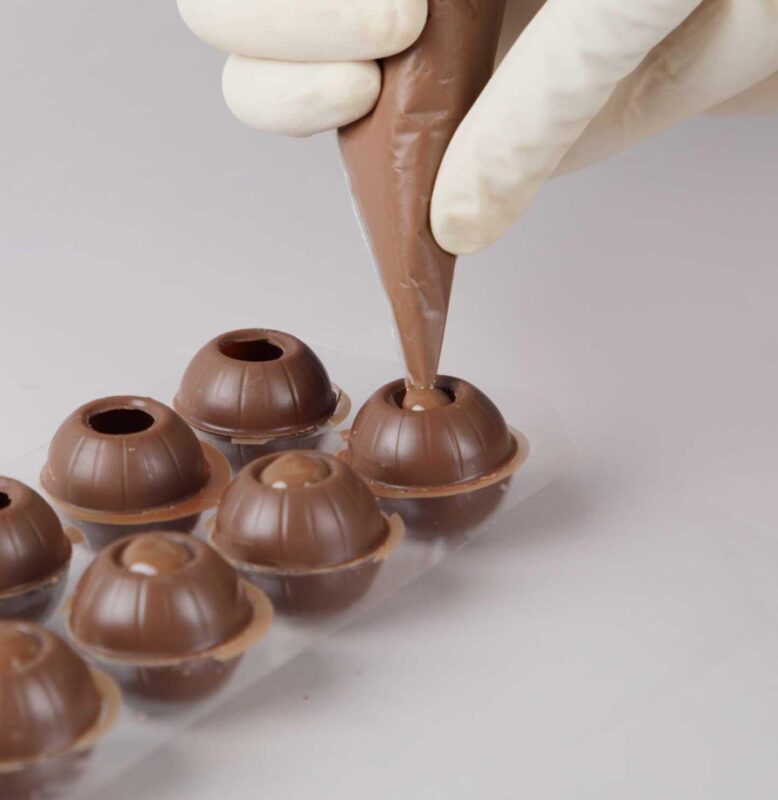
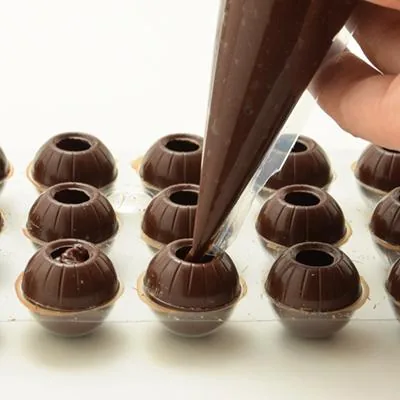
Transfer your filling into a piping bag. Carefully pipe the filling into each chocolate shell, leaving a small space at the top. Disposable Piping Bags allow keep your mess at a minimum and fast clean up.
Important: Let your filling cool to 32-37°C before putting it into the chocolate shells. Hot filling can melt or soften the shells. Cold filling from the fridge will create air pockets in the shells and not fully fill the cavity.
Your filling should be smooth and soft enough to squeeze through a piping bag. Cut the piping bag tip large enough for filling to come out smoothly while not over flowing over the edge of the shells.
Avoid overfilling, as you will need room to seal the opening with chocolate. If you over fill your shell, take your finger and clean up after it has set. It is very hard to clean up while your filling is still in a liquid state.
Step 4 – Allow the filling to set
Place the filled shells on a tray and allow the filling to firm up. As time is of the essence and we want to complete in under 60 minutes. Place your shells in the fridge for approx 15-30 minutes. The filling may not be 100% set, however firm enough to cap.
Depending on your filling, this may take several hours. The filling should be firm enough to handle before sealing.
Tip: The filling should be firm enough that it won’t spill out when you turn the truffle upside down.
Step 5 – Seal and dip
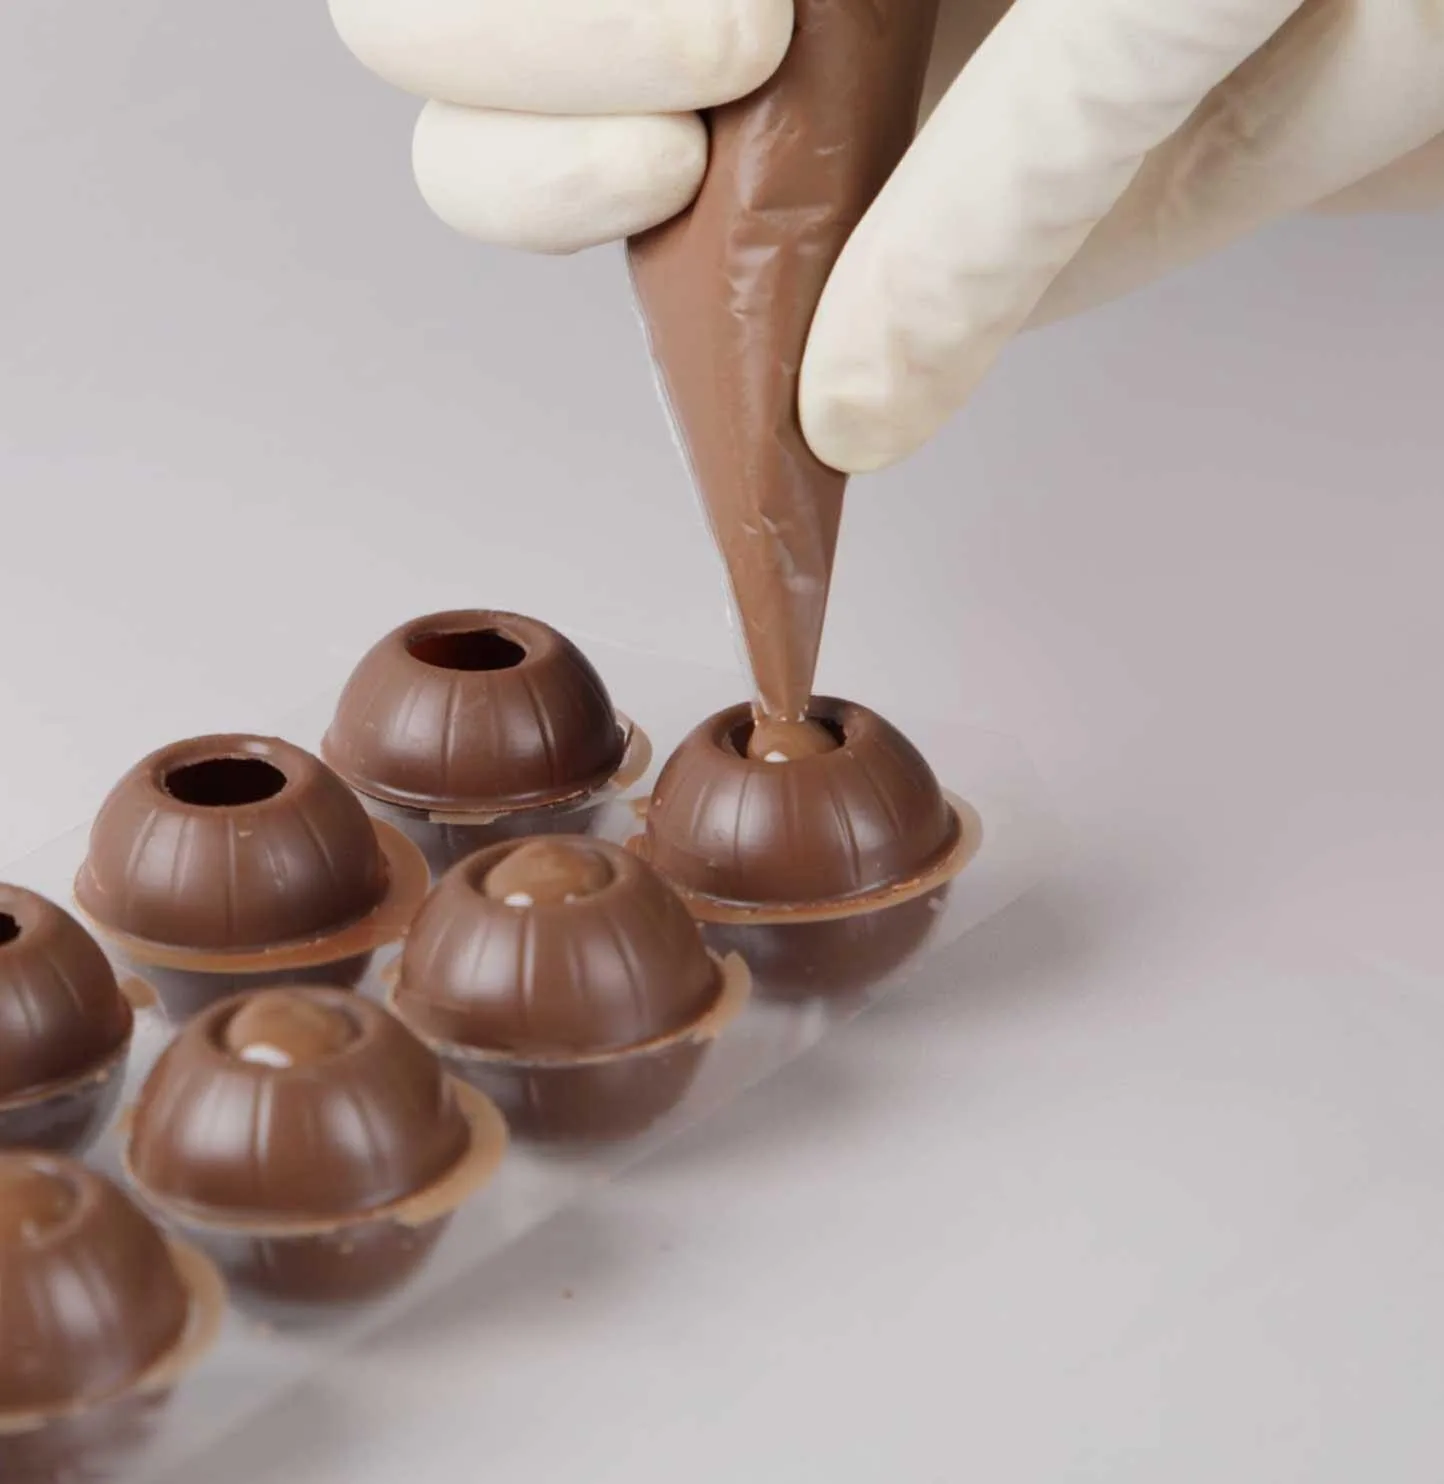
Seal the opening of each filled shell with a small amount of tempered chocolate. No time to temper chocolate, use confectionary/compound chocolate. Confectionary chocolate is quick, fast setting and perfect for beginners.
Melt a small amount of chocolate in a microwave-safe bowl, heating in short 15–20 second intervals and stirring between each interval. If using couverture chocolate do not exceed 32°C and if using confectionary chocolate do not exceed over 37°C
Using a small spoon or the tip of a piping bag, place a little melted chocolate over the opening of each truffle to seal in the filling.
Allow the chocolate to set before moving on.
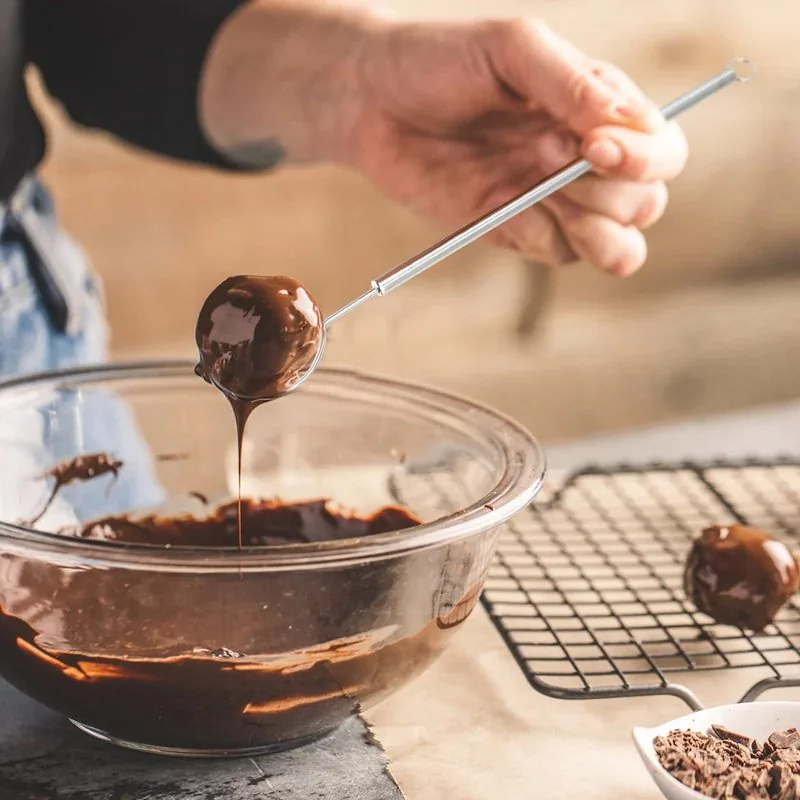
Once sealed, dip the entire truffle into tempered chocolate, ensuring it is completely coated. Allow excess chocolate to drip off. This can be done with a chocolate dipping fork, or any fork avaialbe. Alternatively wear gloves and place a small amount of chocolate in the palm of your hands and roll the truffles between your palms for a thinner coat. As the truffles will be cold when dipping you may find that they harden/set rather quickly.
Cap your truffles with chocolate
Step 6 – Decorate your truffles
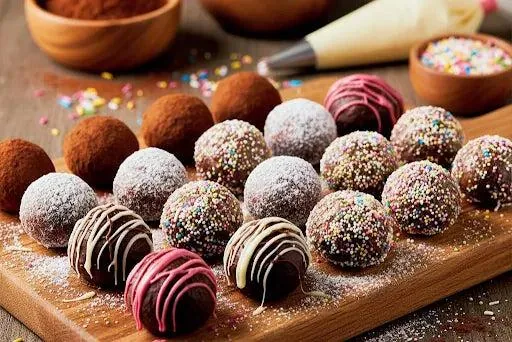
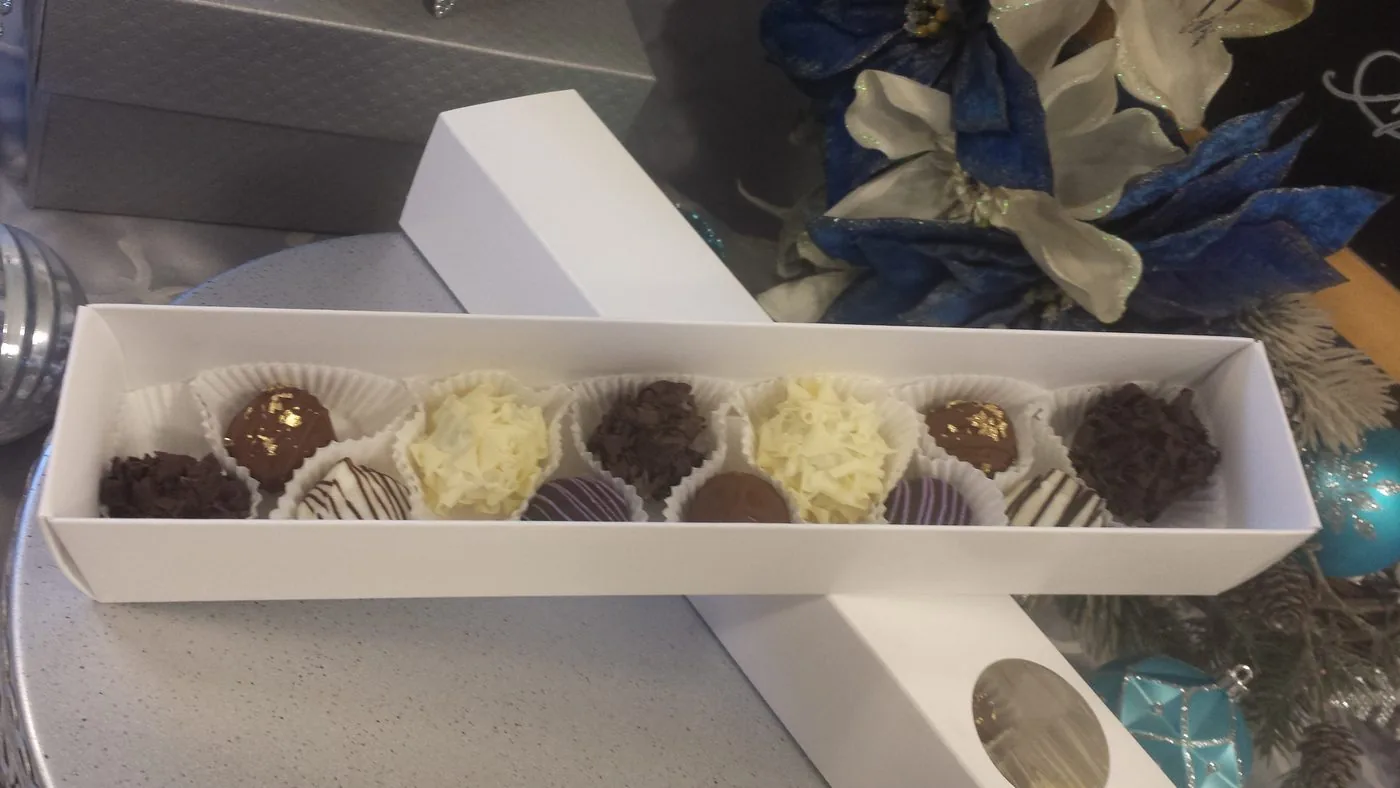
While the chocolate coating is still wet, add your preferred decorations. Be sure to tap off the extra chocolate before tossing into your toppings. If this step is missed you will find that over time you will have lumps of chocolate in your toppings which make the truffles look messy. Roll your truffles in assorted toppings. We find that having an extra set of hands for this makes everything move so much quicker and smoother.
Try:
- Cocoa powder. Extra Brute cocoa powder is velvety and has a roasted chocolate flavour.
- Chocolate shavings
- Crispearls. Try Mini Crispeals !
- Chocolate flakes
- Chocolate vermicelli
- Chopped nuts
Step 7 – Allow to set and package
Place the finished truffles on parchment paper or a confectionery tray and allow the chocolate coating to set completely.
Once set, transfer to suitable confectionery packaging and store according to the filling recipe’s food safety and shelf-life requirements.
Helpful tips for best results
- Temperature matters: Never pipe hot filling into chocolate shells, as this can cause them to soften or melt.
- Keep everything dry: Moisture can affect chocolate and filling quality.
- Use tempered chocolate: This helps achieve a smooth finish, attractive shine and satisfying snap.
- Get creative: Experiment with different fillings, flavours, coatings and decorations.
Happy chocolate making from Create Distribution!
Leave a Reply
You must be logged in to post a comment.